hi. I always receive a lot of messages on Instagram on how to edit or how to do this. so, today I will be giving a step-by-step on the process of editing ![]()
TUTORIAL ONE |
Removing the background and saving the quality of the image.


TUTORIAL TWO |
My advice is to use a solid plain background. White, black, yellow, pink, green, etc. It helps if you do not have the character wearing a color that is the same as the background. Beware of pale or light characters while using a white, pink, or yellow background.
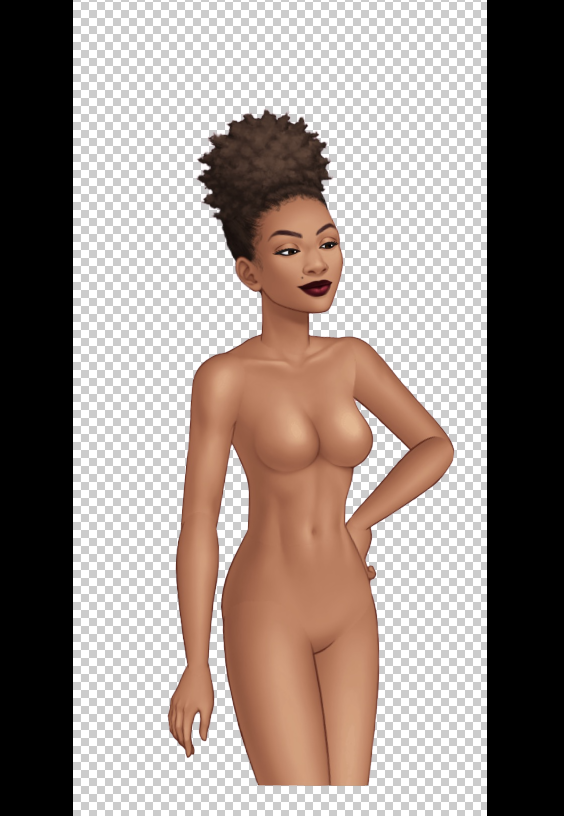
Here is the image that I saved from the portal and brought over to my software.
removing the background from the image.

Next. You’re going to grab your magic wand tool.

Here is where you change the size of the tolerance. I use 100. This helps with not having that many pink/white lines around your character. You will need to click on “select subject.” The select subject helps those with iPhones. It will get rid of all the black at the bottom.

Once you have your character selected. Hit CTRL + C, then CTRL + V. It will paste your character above the background. This will be the result.
TUTORIAL THREE |
The tool you will need for this is the lasso tool. This is the tool I use.
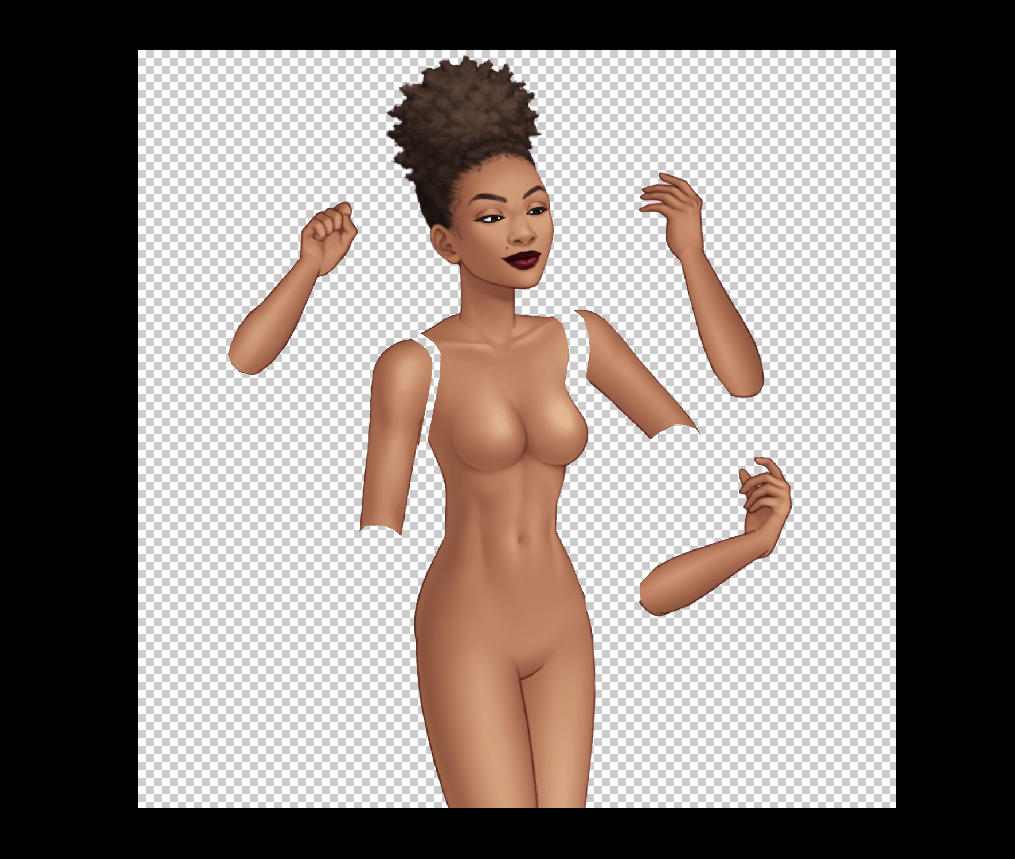
removing the limbs from the character,


All you have to do here is to delete the limb or if you want to save it. Just hit ctrl + c, then ctrl + v

Just repeat the same steps as above for the rest of the limbs you want to go. Here is a link to my YouTube channel. You can see how I do it.
TUTORIAL FOUR |
For obvious reasons, you need to have more than one screenshot. Gather all of the poses that you need to create your pose. I will be making a posing use these animations. Here a post on how to use layers. This will help you with creating poses.
changing the pose and placing the limbs that you cut on the character.
The results from the limb above.

TUTORIAL FIVE |
this tutorial will be on changing facial expressions.
I am using the lasso tool here.

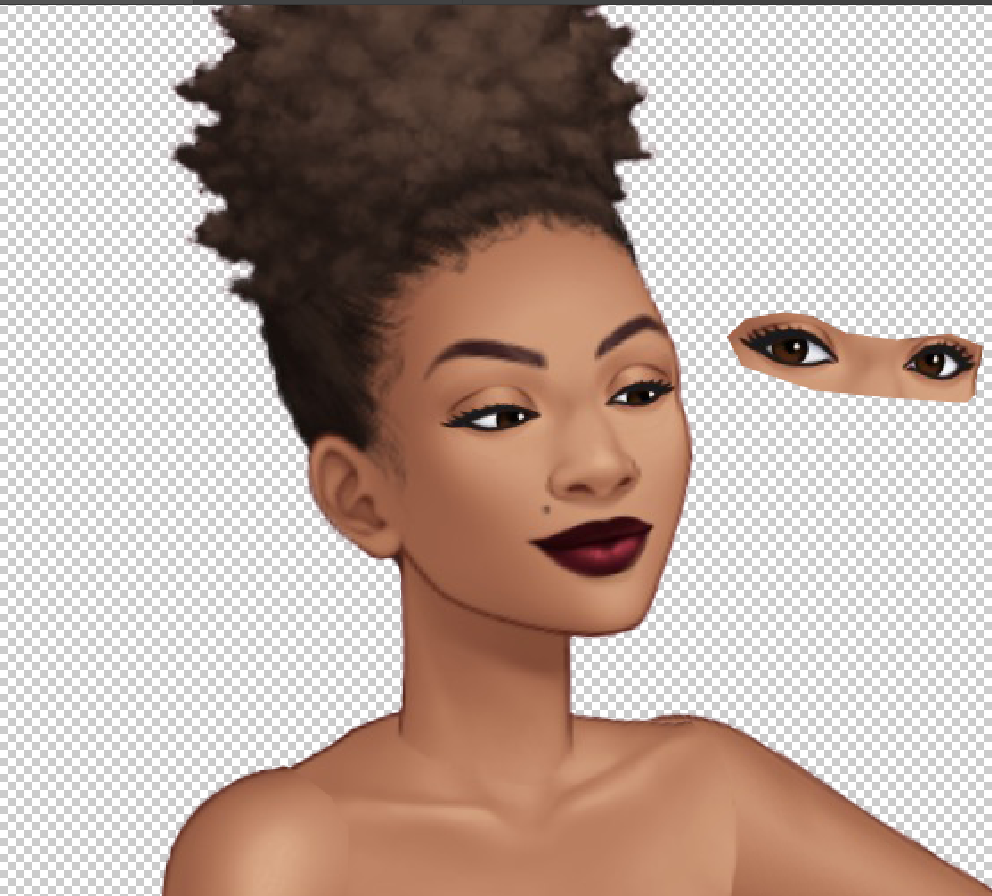
Step three. Placing the eyes on top of your desires spot.

TUTORIAL SIX |
You can find the clothes in the art catalog. Almost every image in the catalog has a transparent background. However, not every image will have clear quality.

first, you want to remove the back part of the skirt or the back part of the clothing, in general.


Using the lasso tool start removing the back part of the skirt.
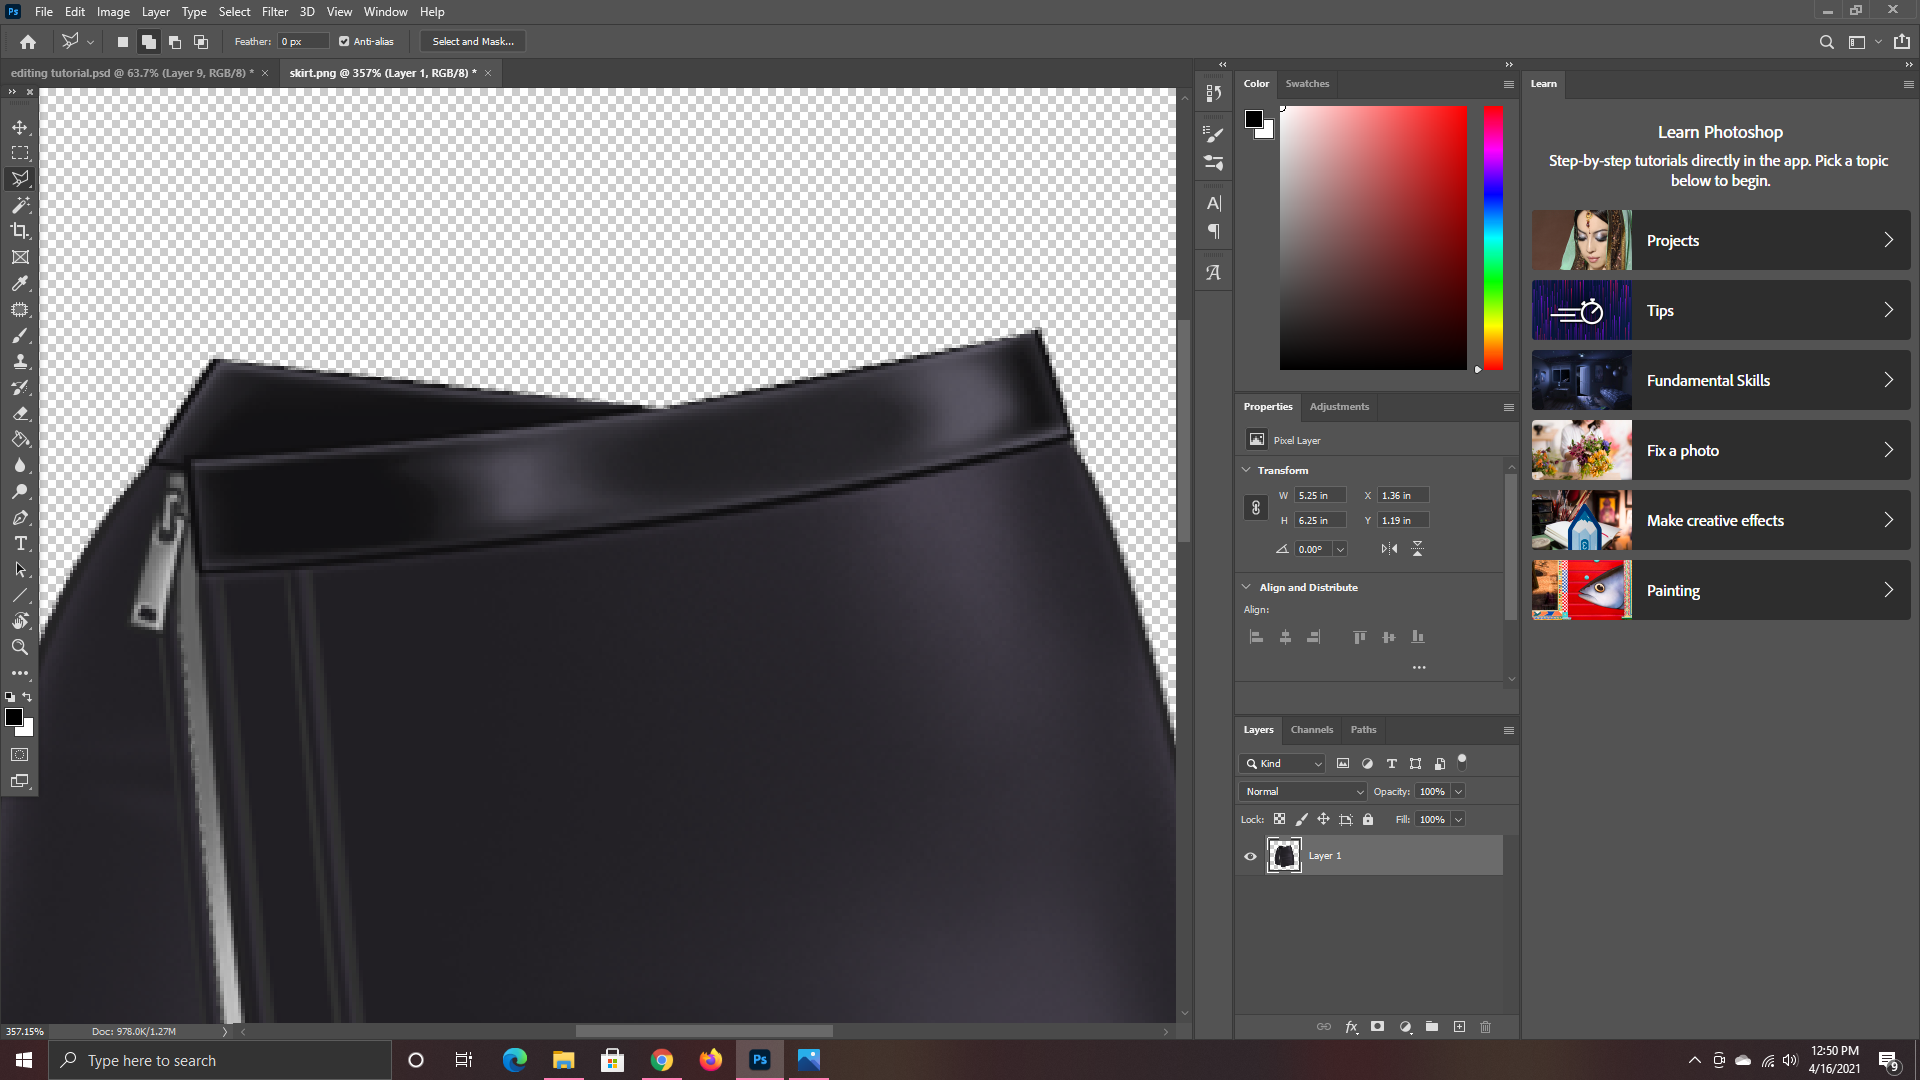
It should look like this.

here is how the skirt will look when you put it on the character.

Here I have the transform tool on. Using ctrl + t to change the size of the skirt to fit the character better.


adding a shirt.

Sometimes when the shirt is too big or the straps are in the way. I will use the erase tool to make the straps look as if they are behind the character’s neck and the wrap tool to make the shirt fit better.


SOFTWARE: PHOTOSHOP CC |
I have videos on my instagram of me creating poses and hairstyles. You can check that out or you can watch them on youtube which is linked above. Alongside the old thread, I made on how to create custom posses. If you have questions, you can ask them below and I’ll help as I can.


