Hey!
Just curious how do you do skin shading without lineart?
1 Like
You mean like for art?
I’m not an expert but maybe they can help:
@Tesbie28 @KylieJay @line123462 @v.h_episode @BB.Baby
So sorry for the tags!
3 Likes
Yep
thanks for the tag…
but I didnt quite understand about the topic…
what do u mean by … shading without lineart? Vi? 
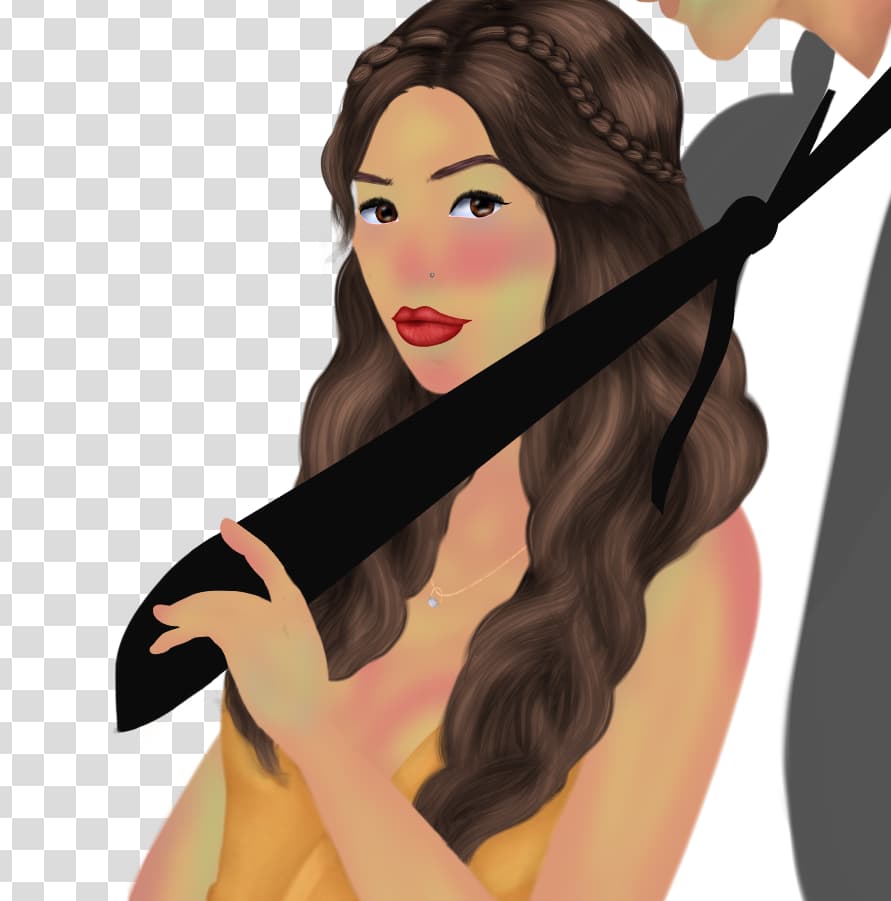
I’m actually shading the skin on my current piece, I can show you
I usally use 3 colors, sometimes four colors. I start with the main which cover evry thing, then I shade with a darker to create shadows and a lighter to create highlights.
The first step are the base colors, I use at least two. With several base colors I can keep lines visible that do not belong together:
(The nose has also a slight color difference to the rest of the face, but it’s hard to see)

Second I’ll add natural tones (red, orange, yellow, green, blue) based on the base color (Just the base color but with the hue changed to the different one)
Then I’ll add the first layer of shadow (Darkest color of my palette):

Then the first layer of light (Not the lightest but still lighter than the base):

Then shadow with a color that was not as dark as the first but still darker than the base:

Then light again (Lightest color of my palette):

Next, shadows on the spots where not so much light gets (darkest color on Multiply)
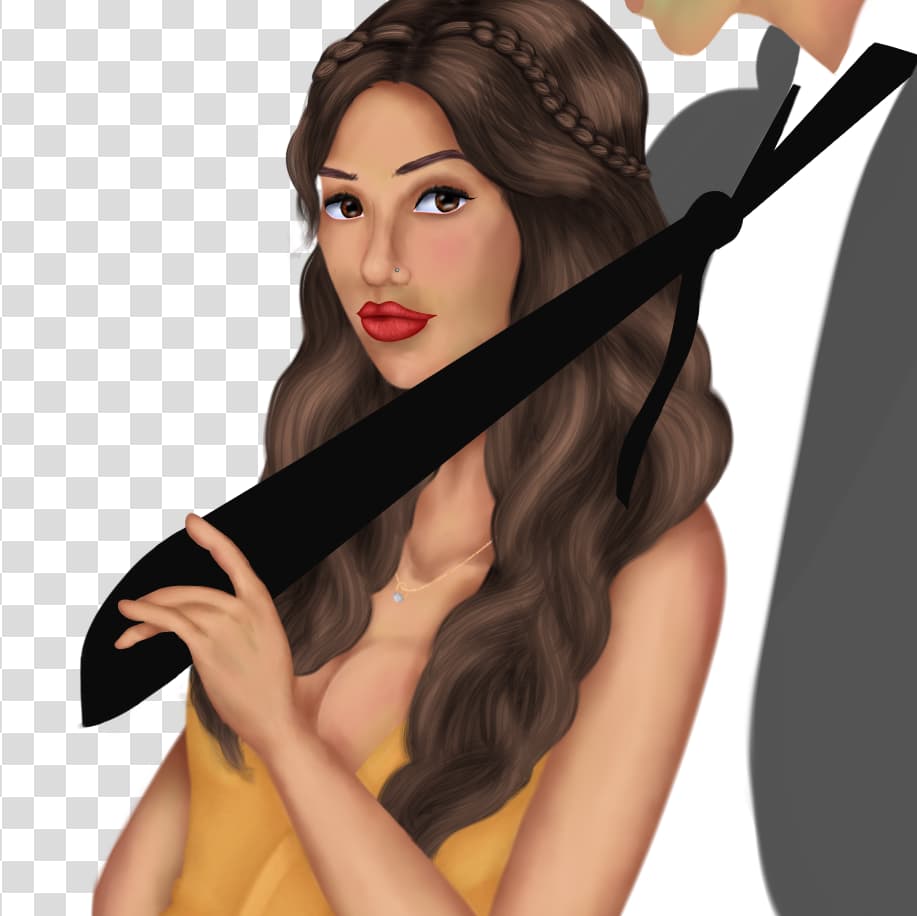
Then a bit of red (on the same spots where I’ve added the red on the first layer)

Then some highlights (Base color on Addition)

And some final highlights with one of the lighter colors (depending on which looks better) on Addition

Here’s the color palette I’ve just for the skin btw

Ahh okay thank you!
Okay so I have a question about sketches
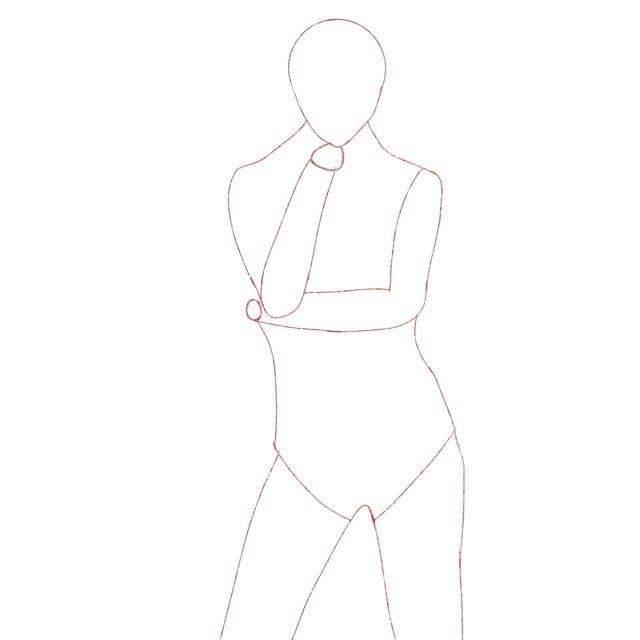
This is where I’m at now. But I have a few problems
How do you draw the hair, eyes,lips,nose,hands from this point?
Do you have have reference for this?

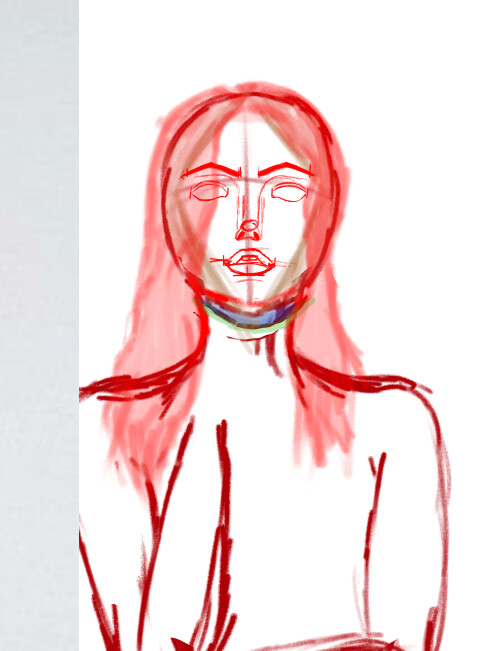
Okay, I see. Well, if you tried to orientate on this pose I can understand why this is complicated. The person isn’t looking straight to the camera, the head is turned a bit upwards and have to keep that in mind when you draw the face.
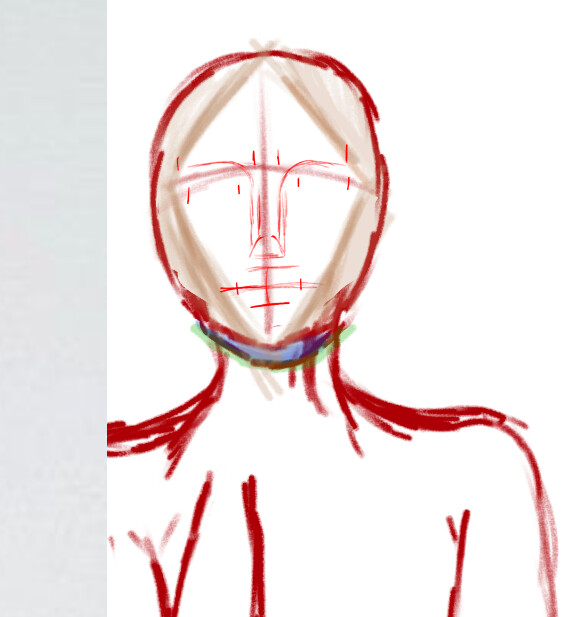
First, you see more than just the chin, You can see a little bit of the part between neck and head (blue colored), and you should draw that too
And the line covered with green won’t be visible when you shade

You can add these orientation lines to the faces and make sure the horizontal line isn’t centered
Then drawn this shape in the face, make sure it’s symmetrical (You don’t have to color it to make it easier to explain.)

The things left in white is the area where the facial features should be
Add some base shapes and orientation lines to the face
Connect the point while making sure the shapes fit the facial features of the character (I just used the face of the reference, instead an episode character)

Then I’ll mirror the image and correct some mistakes and correct the perspective a bit

And the last thing I do is to sketch the hair on a separate layer with a lower opacity
It’s important that the lines aren’t “too perfect”, in the end you should understand what you’ve drawn without making clear and perfect lines.
This whole thing, including the body took me about an hour:


1 Like