WELCOME! ✧
Many of you have been asking me how I edit “character” splashes and I’m here with this tutorial to help you!
DISCLAIMER: This is how I edit, there are many different styles of editing but this is what I’m comfortable with.
APPS:
I will be using IbisPaint X, Phonto, and PicsArt for this tutorial.
CHARACTERS:
You can make your characters or use an EA (Editing Assistant). ALWAYS give credit when using someone else’s EA!!!
PORTAL OPTION:
Go onto the writer’s portal and create your characters, open up a story (I made a random story and called it EDITING INK/LL). Choose the outfits and pose you want to use then spot them in your story. Make sure you upload a blank coloured background.
REMEMBER: DO NOT use a background that has the same colour as the outfit.

SCREENSHOT:
Go onto the app and screenshot your character, if the side bars are in the way, go to Navigation and click on it, then select the one that says Hide debug elements.
TIP: Screenshotting your characters directly from the app instead of the character previewer will ensure higher quality!
MAKING THE SPLASH:
Splash Size --> 640 x 1136
Open the app and create the size of the canvas.
Open your screenshot.

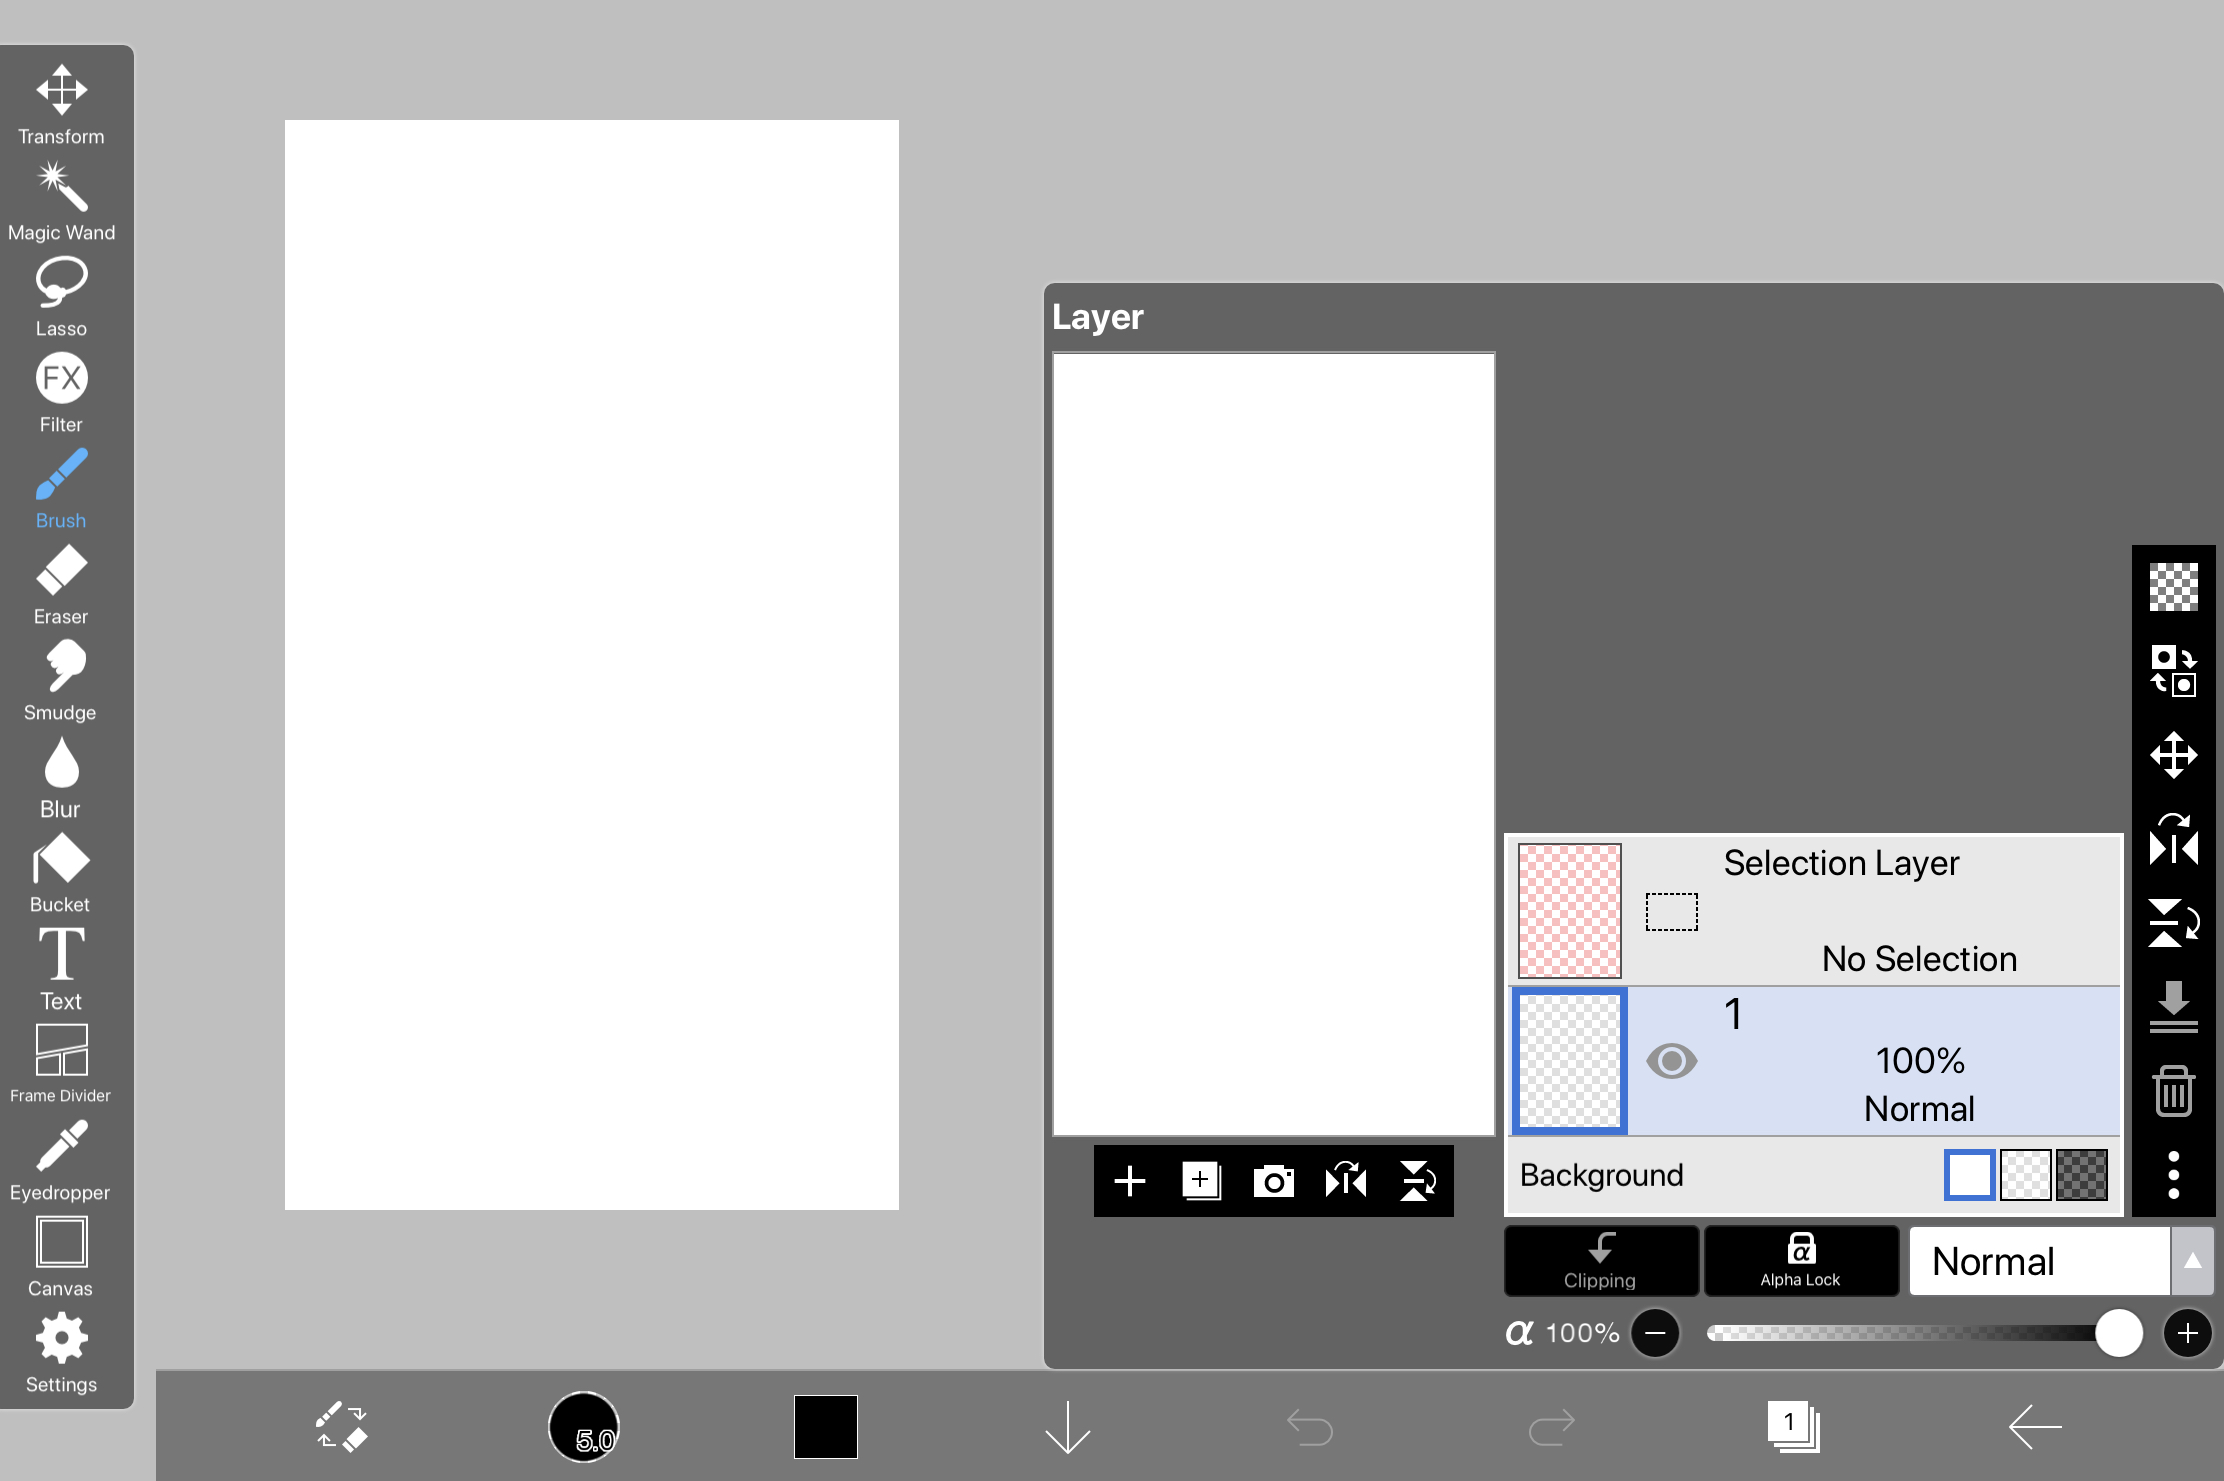
Select the Bucket tool and MAKE sure you’re on the Selection Layer. Use the bucket and fill in the background (the stuff you’re getting rid of.)

It should look like this when you fill it up.

Go back to the first layer THEN click where the arrow is pointing (the checkered box.) Once you click on it, the background will be removed. THEN click on the “Selection Layer” then click on the “First Layer,” again. This will remove the selected area outline. Erase any extra background with the eraser tool.

The lines will look “messy.” You can clean this up by erasing or using the brush tool and outline over it!

Now you can get creative with this! Add a background and add whatever details you want on your splash! Feel free to play around with the tools!

TEXT:
Go to Phonto and open your image up. You can select any font you like and if you want a larger range of fonts, go to dafont.com and download them! Add your chosen text, feel free to play around with the text effects.

OPTIONAL:
This step is optional but I personally like doing it because it adds a nice touch to the splash! Go to PicsArt and play around with the filters and tools until you like how your splash looks.

FINAL RESULT:

NOTE: You can also follow the same steps and create covers, detail cards, etc.
You’re Done! (:
I hope this helps any of you! ✧


