Hello, I hope you’re having a good day/afternoon/evening/night where you’re at ![]() Anyways, I’ll dive right in, mon ami(e)
Anyways, I’ll dive right in, mon ami(e) ![]()
Important Background Information you MUST read
First of all, here is background information from the thread on DARA’S GUIDE: Overlays that you’ll need to know as we discuss this topic.
&
&
Info on layers: HOW TO: Move Characters / Overlays to the Layers
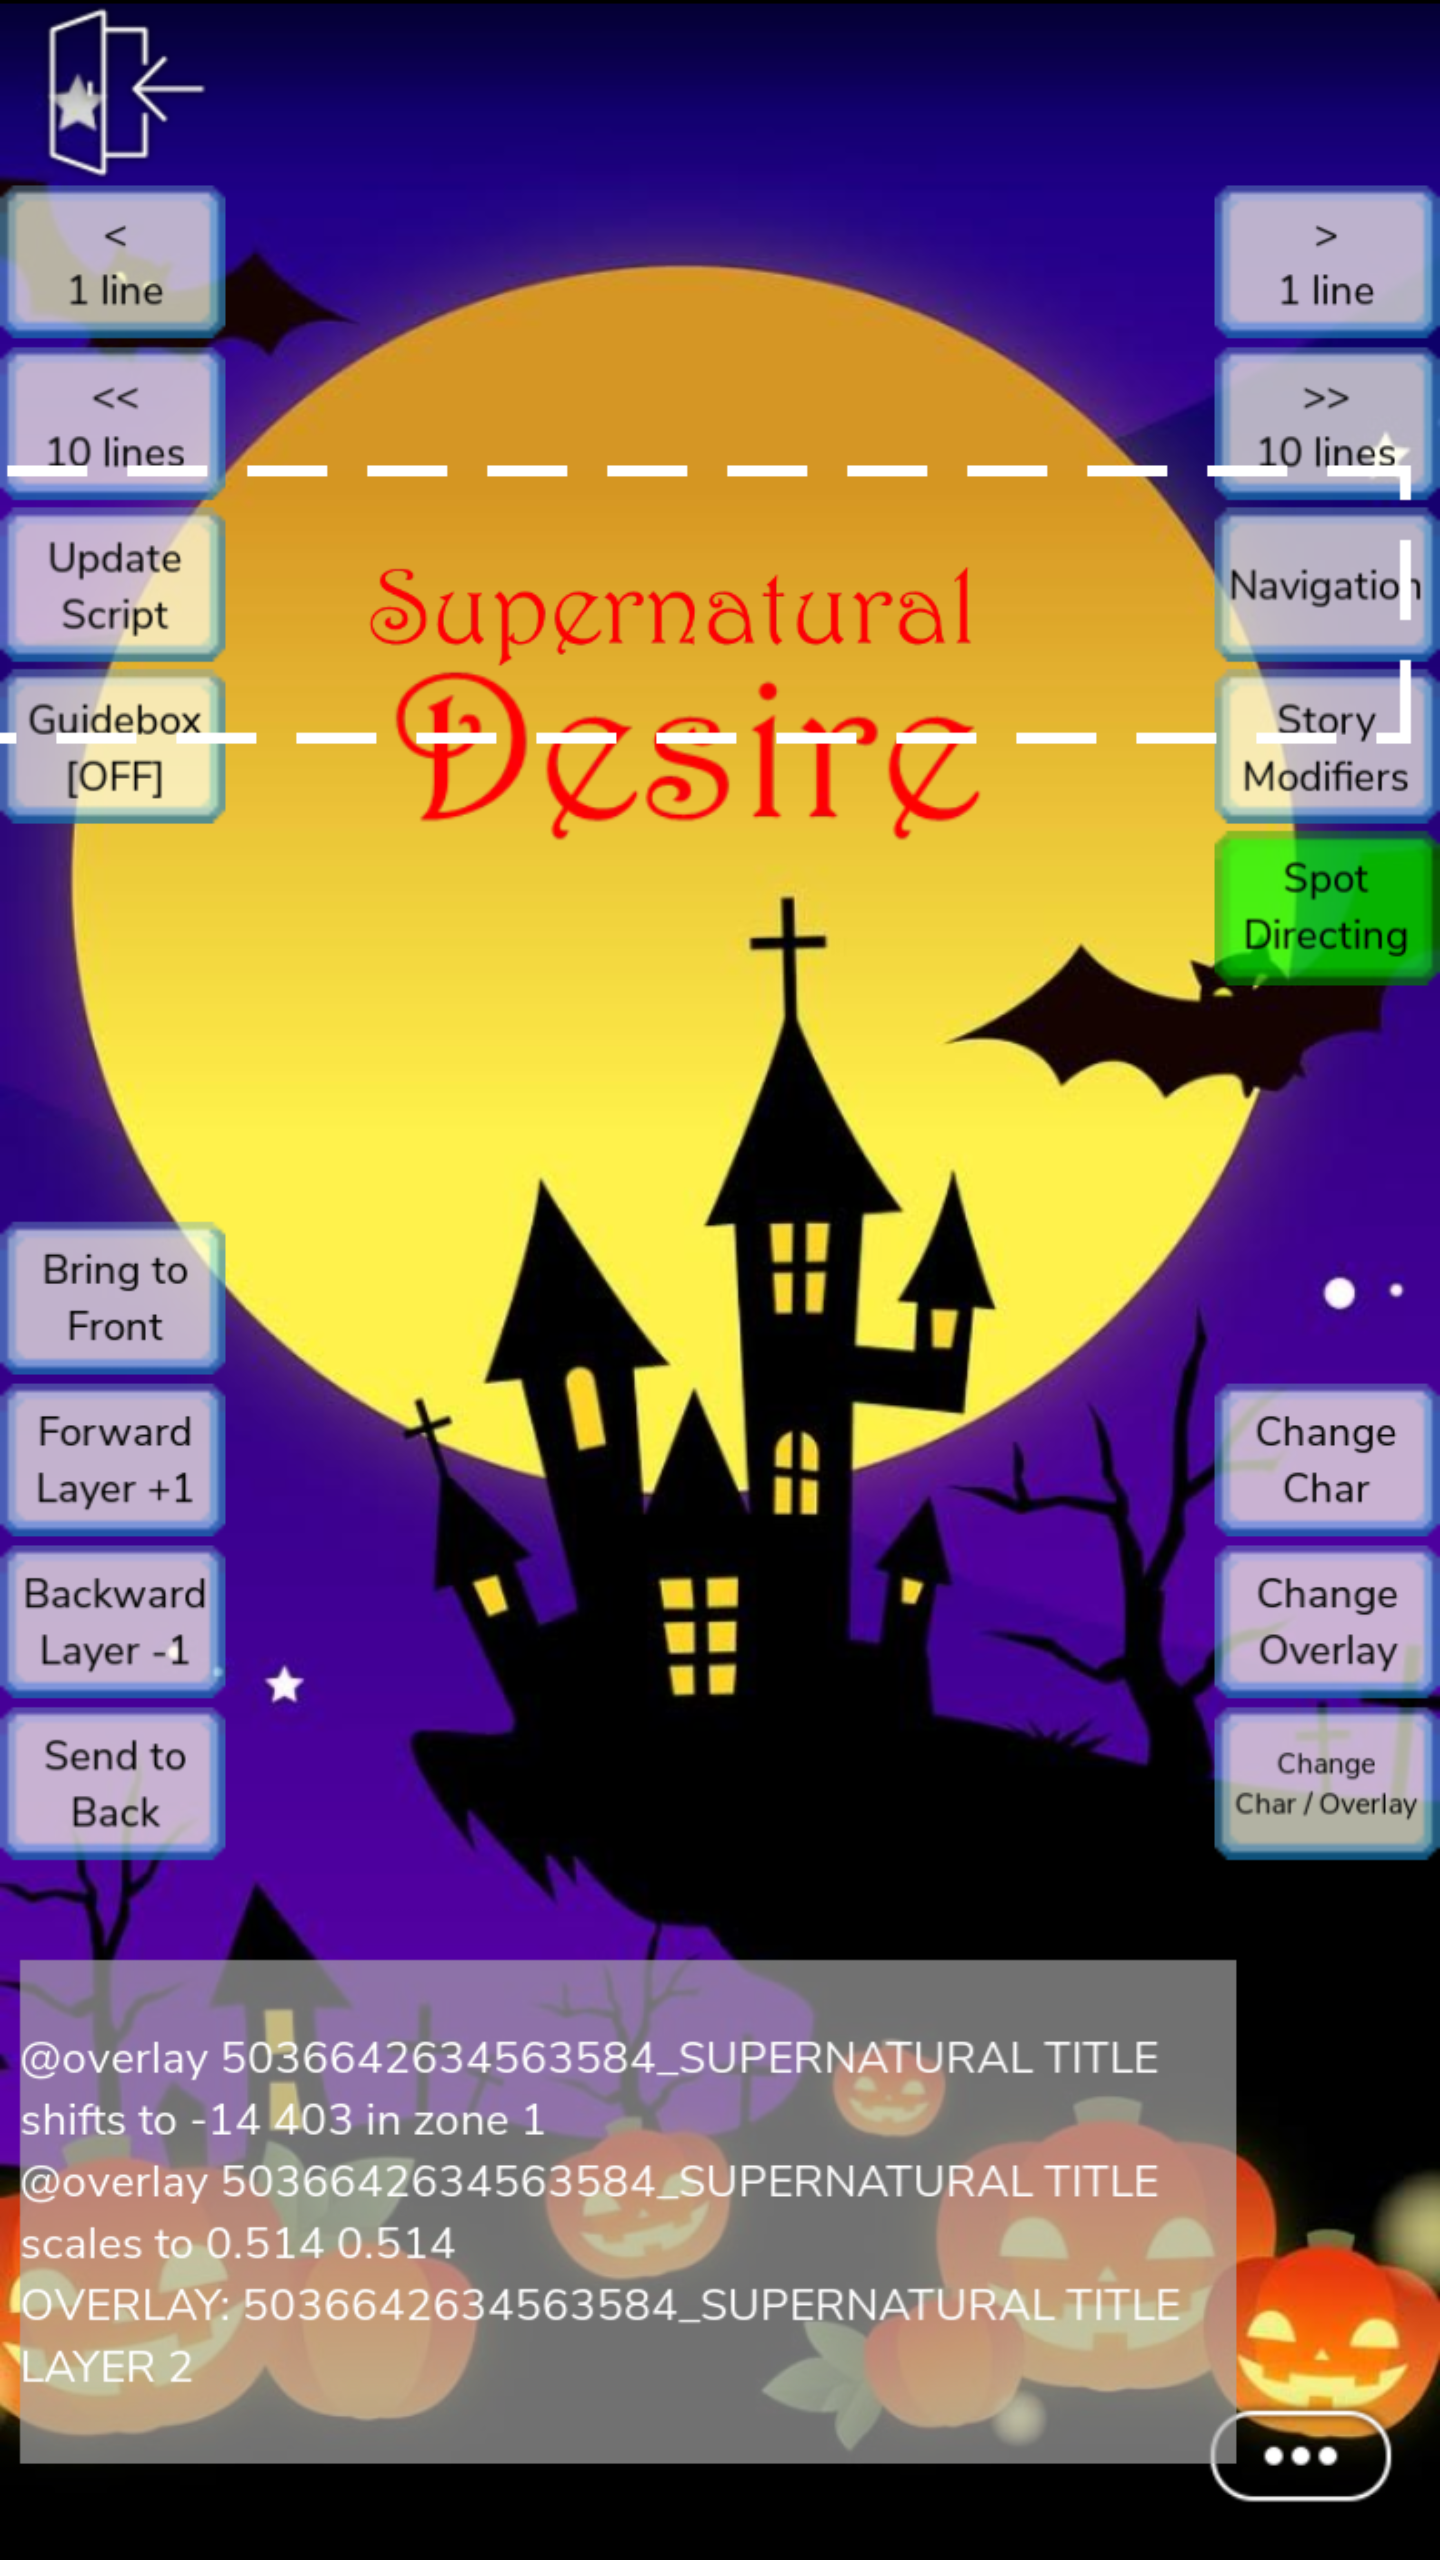
As you can see, the first shift number (X) is the overlay going from left (lower numbers) to right (higher numbers) or vice versa. The second shift number (Y) is the overlay going from up (higher numbers) to down (lower numbers) or vice versa. Think of it like a graph. The first number (scale) is just the size of the overlay.
Now, it’s time to test stuff out!
Having the overlay come in from the side:
Since we know the first shift number (X) controls left, right movement, we can come up with this formula:
INT. BACKGROUND NAME - DAY with OVERLAYNAME to % X1 Y in zone # at layer #
@overlay OVERLAYNAME shifts to X2 Y in zone # in T
Everything else in this code is kept the same (leave the 2nd shift number, Y alone), only X changes.
For example, we could sub in stuff so that everything becomes:
INT. BACKGROUND NAME - DAY = INT. PURPLE DAY
OVERLAYNAME = EPYXMAGIC
% = 1.000
X1 = -250
X2 = 27
Y = 250
in zone # = in zone 1
at layer # = at layer 1
*layer # and zone # don’t need to match.
T = 2.5 (time, in seconds)
For our example, we are going to have the overlay come in from offscreen left and onto the scene in a smooth line:
INT. PURPLE - DAY with EPYXMAGIC to 1.000 -250 250 in zone 1 at layer 1
@overlay EPYXMAGIC shifts to 27 250 in zone 1 in 2.5
This visually translates into:

Having the overlay come in from the top/bottom:
Since we know the second shift number (Y) controls up, down movement, we can come up with this formula:
INT. BACKGROUND NAME - DAY with OVERLAYNAME to % X Y1 in zone # at layer #
@overlay OVERLAYNAME shifts to X Y2 in zone # in T
Everything else in this code is kept the same (leave the 1st shift number, X alone), only Y changes.
For example, we could sub in stuff so that everything becomes:
INT. BACKGROUND NAME - DAY = INT. PURPLE DAY
OVERLAYNAME = EPYXMAGIC
% = 1.000
X = 27
Y1 = 600
Y1 = 250
in zone # = in zone 1
at layer # = at layer 1
*layer # and zone # don’t need to match.
T = 4 (time, in seconds)
For our example, we are going to have the overlay come in from the top and go down onto the scene in a smooth line:
INT. PURPLE - DAY with EPYXMAGIC to 1.000 27 600 in zone 1 at layer 1
@overlay EPYXMAGIC shifts to 27 250 in zone 1 in 4
This visually translates into:

Having the overlay come in from offscreen, adding an easing function:
For our example, we are going to have the overlay come in from the top into the scene in a smooth line and have a bouncing effect:
INT. PURPLE - DAY with EPYXMAGIC to 1.000 27 600 in zone 1 at layer 1
@overlay EPYXMAGIC shifts to 27 250 in zone 1 in 4 using easebounceout
This visually translates into:

More info on easing functions here: HOW TO: Use Easing Functions :disco:
Since this is also a workshop, I will be helping you if you need it.
How To Request
I’ll need:
- Your background name.
- What zone you’re in.
- The name of your overlay(s) and what layer you’d like them at (giving me a layer number is optional).
- The coordinates of your overlay onscreen.
- The coordinates of your overlay offscreen. Feel free to tell me if you’d like it to come from the top, bottom, left or right in a straight line although just by seeing your coordinates, I’ll get a pretty good idea myself.
- Optional = How many seconds you like for the overlay to come into the scene. Also optional is which easing function(s) you’d like to add.
Thanks for checking this out and special thanks to @Fraud for coding the epyxmagic overlay and providing the gifs ![]()


 I’m going to use this in the future.
 but don’t thank me.
  I got some good step by step instructions.


 It’s very helpful!


 You should do more gifs! Good job Jem!